Orla Kiely has once again teamed up with Danone Light & Free Yogurt (see last year's debut here). Her Sunset Flower print is seen on their Fab Fig n' Honey yogurt in a pink and purple colorway that coordinates nicely with the featured fruit. These adorable cups of yogurt are available in 4-packs and can be purchased at Tesco stores.
Table Of Contents
Showing posts with label Food. Show all posts
Thursday, June 6, 2019
Friday, April 13, 2018
Orla Kiely for Light & Free Yogurt
Photo courtesy of Light and Free UK's Instagram
Orla Kiely has had several collaborations in the past, but this particular one tickled me quite a bit. Danone Light & Free has teamed up with our favorite designer to create a limited edition 4-pack of Pretty Poma-Berries Greek style yogurt.
There are four prints available - Acorn Spot, Square Flower, Flower Spot, and Tulip - in colorways that coordinate well with the berry flavor.
Nutrition Information for those interested :)
Light & Free is also currently running a contest where you can win a £5,000 shopping experience with Orla Kiely. Click here to enter!
This is definitely an item for any Orla Kiely collector. I imagine if I was able to purchase these, I'd without a doubt save the packaging (not the yogurt haha). Since I live in the US, I won't be able to get my hands on these as I believe they are only available in the UK. So if you live in the area, definitely check out your local supermarket :)
Saturday, October 31, 2015
Orla Outfit of the Day: Happy Halloween
OOOTD:
Orla Kiely for Uniqlo Linear Stem Tank Top
Forever 21 Vest
J. Crew Distressed Denim Shorts
Gap Belt
Yay, the weekend is finally here! And it's Halloween - happy Halloween everyone :)
This owl necklace was a present from my Mom, and I've been really into owls lately because my son has recently become obsessed with Harry Potter and talks about Hedwig all the time :)
I've been loving wearing this vest lately because it's still quite warm where I live, but I love fall/winter clothes so much and I feel this vest can still give me the look of outerwear and keep me cool at the same time.
I actually wore this outfit last weekend to a friend's pumpkin-carving party, and I decided to make Jack Skellington cake pops for the occasion.
I've been making cake pops as a hobby for the last couple of years, and honestly, they're still super hit-or-miss for me. I'm still learning how to get the consistency of candy melts just right, and the decorating is always a challenge.
But the results are always fun to look at, and they taste yummy, too :) I've only ever used boxed cake mix, and people are always so surprised when I tell them that. But yup, just your regular 'ol $1.50 box of cake mix that you can get at your local grocery store. There's already so much involved with making cake pops, so I find that just using a cake mix makes things SO much easier.
My favorite cake mix to use is strawberry, and I always mix it with vanilla frosting. For these Jack Skellington cake pops, I used white candy melts and piped on store-bought black icing for the face.

I hope everyone has a wonderful and safe Halloween tonight!
Sunday, January 12, 2014
Orla Kiely Birthday Party
What I'm Wearing:
BCBG Heels
J. Crew Factory necklace and bracelet
I turned 30 this week and for my birthday, my parents got me this Orla Kiely dress and a purse (upcoming post on that later!). My parents know me far too well :)
Not only is the print on this dress unique and gorgeous, but the back has a cutout detail that I definitely wanted to show off. So I decided to attempt the high bun that's pretty popular right now. After several attempts, YouTube views, hairpins, hairspray, and cutting up an old sock, I finally achieved the look I wanted. After watching several YouTube videos, this was the one I found to be the easiest to use and yielded the best results:
This birthday was made even more special by my husband, who thew me a surprise ORLA KIELY themed birthday party.
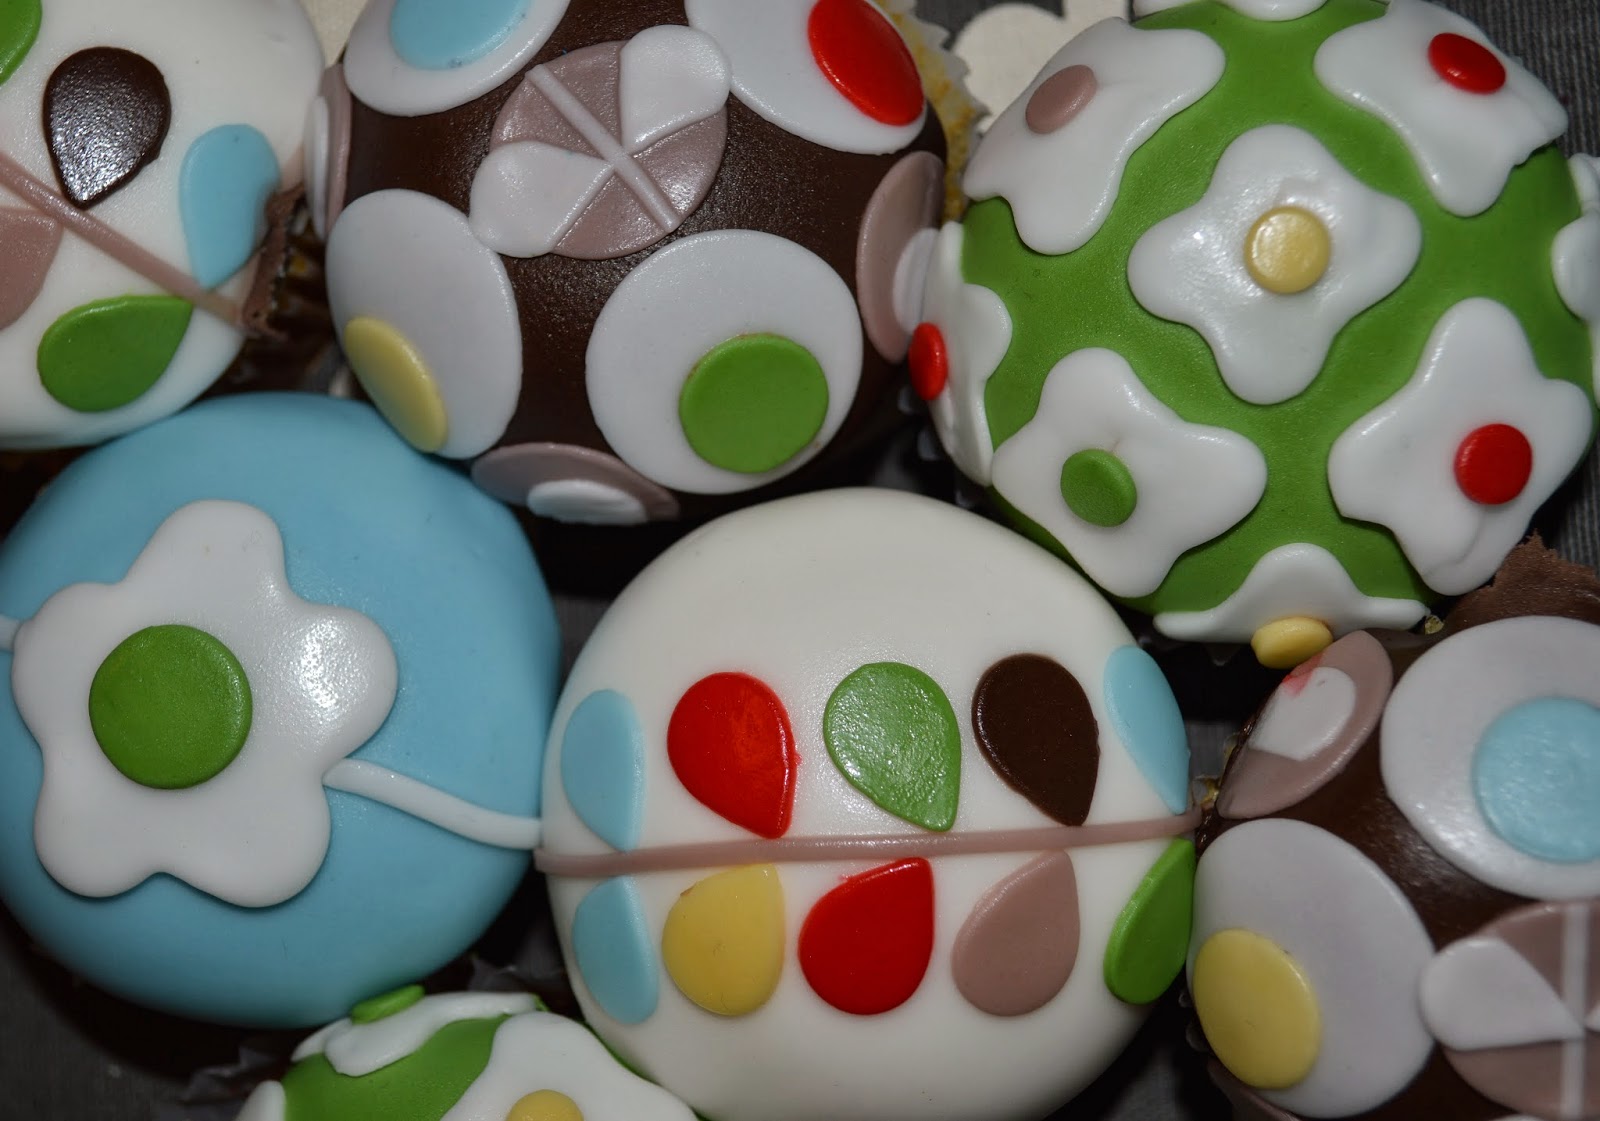
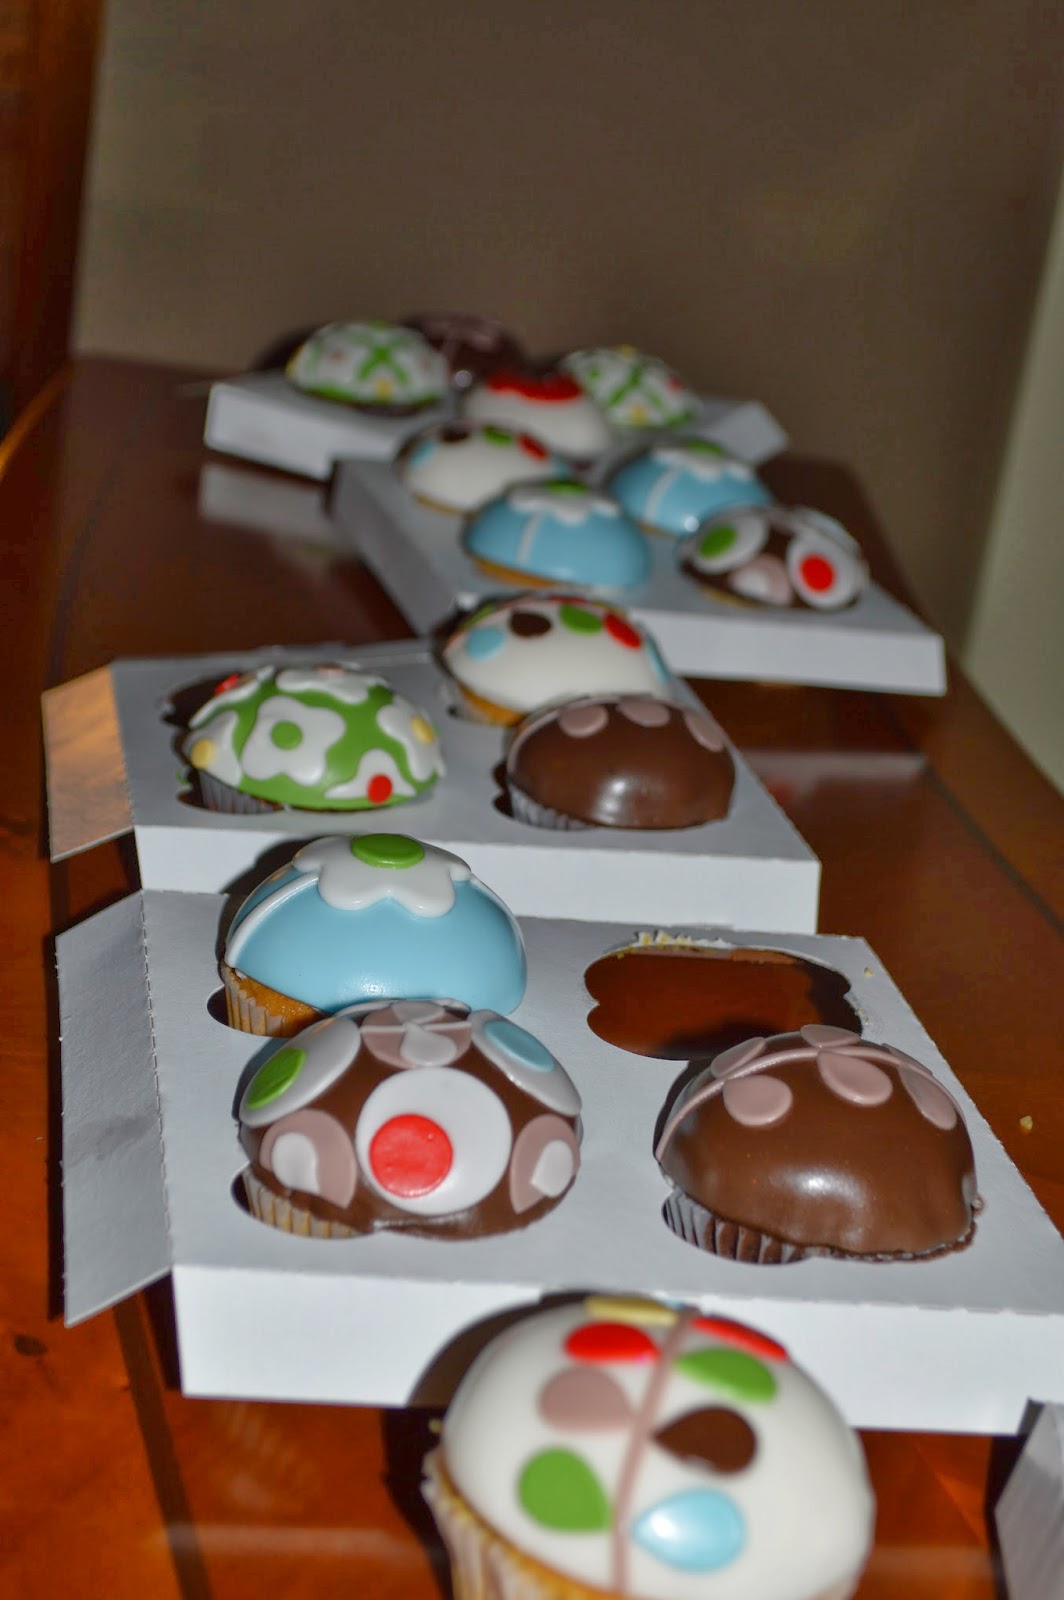
Just look at these awesome Orla Kiely cupcakes he had made!
My little boy got in on the action early and devoured one right away (look at some of the remnants at the corner of his mouth :)
This was definitely so special to me and I was beyond excited that my husband did this for me.
And by the way, the cupcakes were delicious :)
Some of the most special and important people in my life.
And here's the man who made it all happen. I love you so much! By the way, he's started a blog, too. It's definitely different from mine to say the least, but if you're interested in the Bible, Quran, or Torah, please check it out here!
Monday, March 26, 2012
Sweet by Holly Cupcakes
Today is Mini-Mania Monday at Sweet by Holly, meaning all their mini cupcakes are $1 each (regularly $2 each). I think their cupcakes are absolutely delicious and I actually prefer them to CamiCakes, which used to be my local fave. My Mom says she doesn't like Sweet by Holly cupcakes because they have more of a muffin texture instead of a cake taste and texture. That's probably why I like them so much because I honestly don't even really like cake that much! I like how super-moist and yummy the mini cupcakes are. And they come in a ton of flavors, which is one of the main reasons I think they're better than CamiCakes.
I made John take me to Sweet by Holly today to take advantage of Mini-Mania and indulge myself. I got a dozen!
1st row from top: white raspberry and chocolate strawberry X 2
2nd row: black out, red velvet, and chocolate strawberry
3rd row: strawberry, red velvet, and banana
4th row: strawberry, red velvet, and cookies n' cream
My favorite flavor of anything is strawberry, which is a flavor that CamiCakes does not have. These were so delicious and I love the pink sprinkles on top.
This cupcake makes me smile because it looks like it has a face on it :) This was the banana cupcake, which is also one of my favorite flavors. It reminded me of banana nut bread - yum!
To the right is the white raspberry. The texture and taste of the frosting and sprinkles were soooo good. I didn't eat the jelly bean on top however because I just don't like them.
The chocolate strawberry, which is one of John's favorites.
Saturday, March 17, 2012
Sprinkles Cupcake ATM
John and I LOVE Sprinkles cupcakes. We would seriously eat them everyday if we lived near a Sprinkles bakery. But alas, we do not (and they don't deliver. Boo! I mean, if Graeter's can ship ice cream anywhere in the US, then certainly cupcakes could easily be shipped as well, right? Right?!)
Anyway, I was watching E! News the other night and they featured a segment on Sprinkles' new 24-hour ATM, which dispenses their delicious cupcakes anytime you want. I wish I could somehow install this in my home. Seriously, this is probably one of the greatest inventions ever. If John and I lived near one, I could see us stopping by randomly at 2 am (and then probably again at 3 am). So if you're lucky enough to live near one, take advantage of this!
www.collabcubed.com
Here's how it works:
Monday, February 20, 2012
Presents From Paris
My husband just got back from Paris today and he brought me back the most amazing gift - French macarons from the famous Laduree bakery!
From left: pistachio (my favorite), chocolate, vanilla (John's favorite), and rose
These are seriously the most heavenly dessert ever. They're made from just almond flour, sugars, butter, and eggs - that's it. There's really not much to these macarons, but somehow they're still so gosh darn hard and tedious to make! There's surprisingly a lot of technique that goes into baking these. My Mom bought me the Laduree cookbook for Christmas one year and I've attempted to make them several times.
This is probably my most successful batch yet. I'll probably write a blog about how to make these once I've perfected them. For now though, I will just enjoy the macarons my husband brought back for me. Yum!
Wednesday, February 15, 2012
BLT Pizza
One of my favorite pizzas is the BLT from Al's Pizza. I know what you're thinking - bacon, lettuce, and tomato on a pizza? But trust me - it's delicious!
Saturday, February 11, 2012
Williams-Sonoma Cinnamon Bun Mix
I am not a baker.
15 minutes?! I thought that was such a long time to keep my mixer running. I felt bad for my husband because he was still asleep at this time and the mixer was so loud!
This resulted in a frantic text message to Richelle on how to make dough rise. I looked up suggestions online. Pretty much every site I looked at stated that the top of the refrigerator is the warmest place in the house. Well, that's where I had it the whole time and nothing! Other sites even suggested leaving it in a car parked in the sun. No, I was not going to do that. Some other sites suggested turning the oven on to warm for a few minutes, then turning it off and placing the bowl inside. But I read that if it's too warm, then it might kill the yeast. John just happened to be cooking an omelet that morning, so when he was done, I place the bowl near the stove hoping that the heat would help the dough rise. Success!
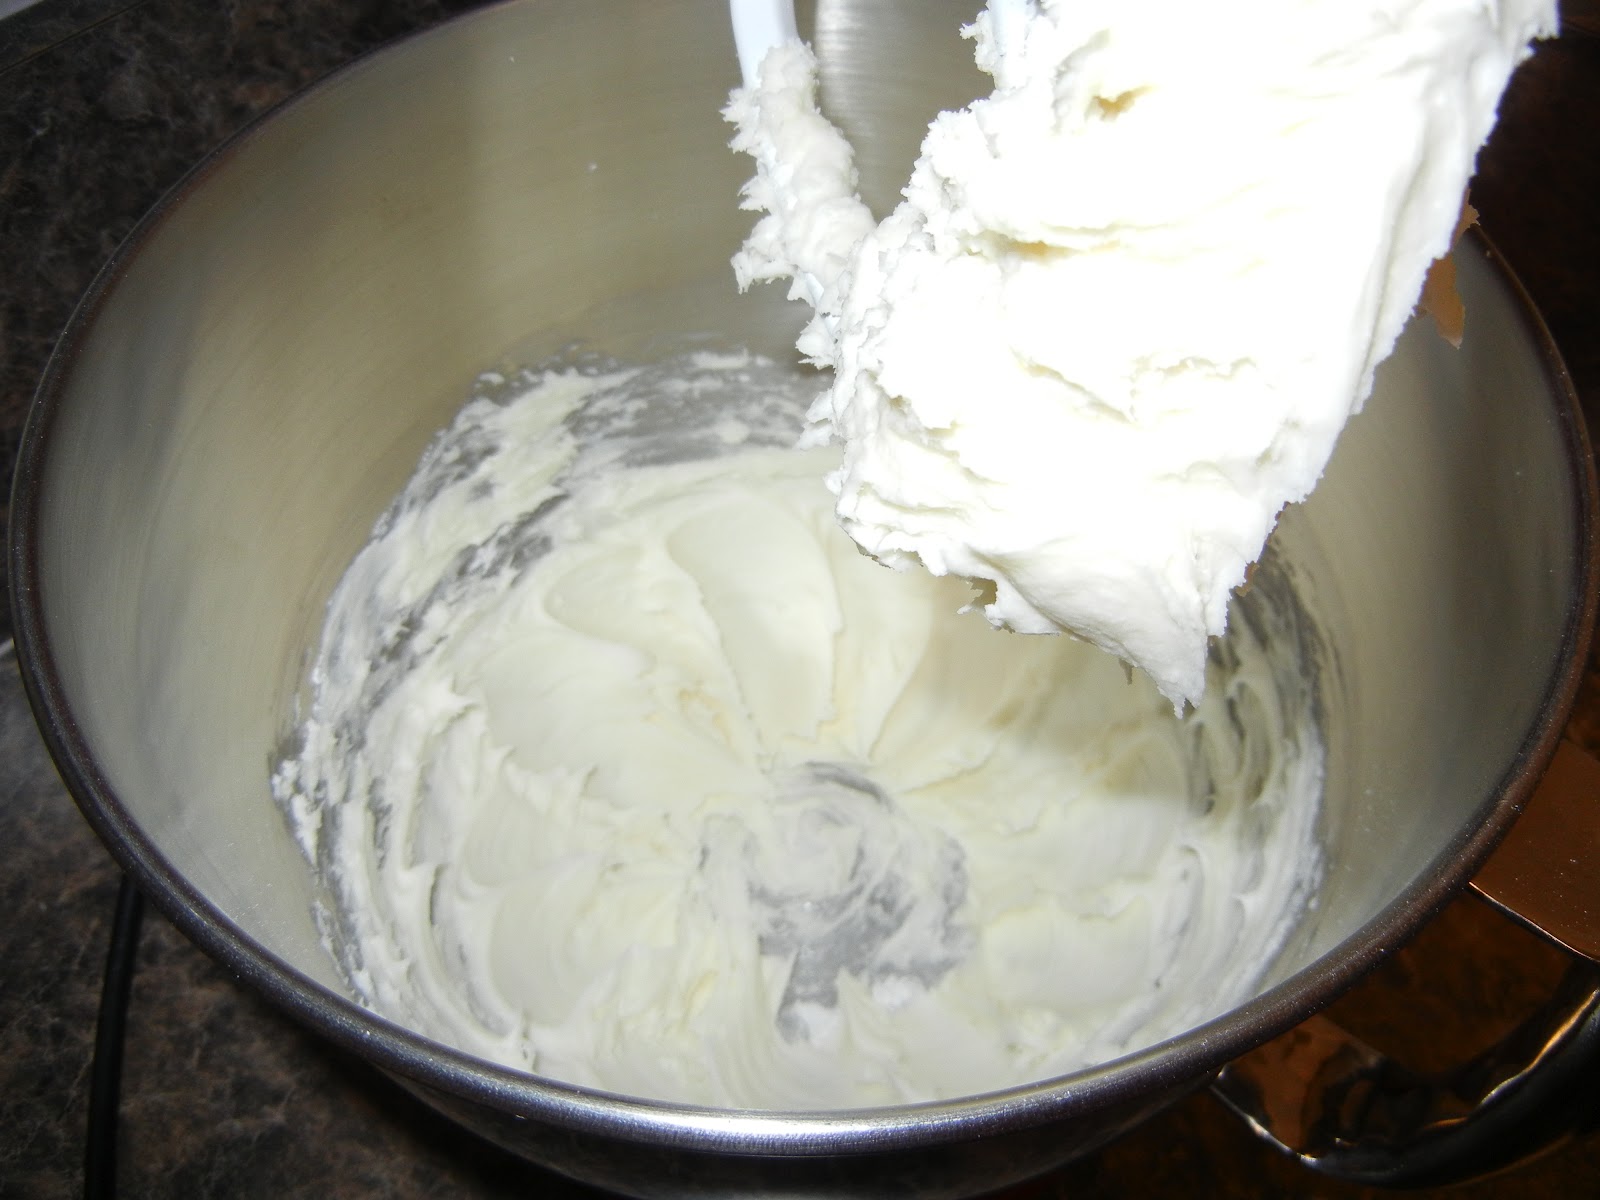
Meanwhile, I started on the cream cheese frosting.
Now back to the cinnamon rolls!
What started out as a simple one hour recipe turned into a 2 1/2 hour ordeal, what with all the rising and picture-taking. My parents came over that morning and we all had a nice breakfast of cinnamon rolls. My parents and John loved them. They were absolutely delicious and I would totally make them again now that I know what I'm doing! BUT at the same time, our local Cinnabon sounds so appealing now! It's fun to bake though, and this way you get to enjoy the fruits of your labor, as my Mom always says.
About a month ago, I set out to make some cinnamon buns from the Williams-Sonoma mix that my friend Richelle got me for my birthday.
Here's what's inside:
Dry mix
Yeast
Cinnamon
Frosting mix
You'll also need 10 Tbs. unsalted butter and 3 oz. cream cheese.
Richelle suggested I read all the directions before I got started so I did. Afterwards, I felt confident I was ready to proceed with this mission. Here's a step-by-step guide on how to make these delicious cinnamon buns.
In the bowl of an electric mixer fitted with the dough hook, beat together the dry mix and warm water on low speed for 1 minute. For the warm water, I just microwaved some water for about 30-45 seconds and poured it in the mixing bowl.
Stop the mixer and scrape down the sides of the bowl. Increase the speed to medium and beat until the dough is elastic and slightly sticky, 14 to 15 minutes.
15 minutes?! I thought that was such a long time to keep my mixer running. I felt bad for my husband because he was still asleep at this time and the mixer was so loud!
After about 5 minutes.
After about 10 minutes. I don't know why, but I love this picture.
After 15 minutes.
Remove the bowl from the mixer, cover with plastic wrap and let rise in a warm place until doubled in size, 25 to 30 minutes.
25 to 30 minutes later, here's what it looked like. Nothing changed!
This resulted in a frantic text message to Richelle on how to make dough rise. I looked up suggestions online. Pretty much every site I looked at stated that the top of the refrigerator is the warmest place in the house. Well, that's where I had it the whole time and nothing! Other sites even suggested leaving it in a car parked in the sun. No, I was not going to do that. Some other sites suggested turning the oven on to warm for a few minutes, then turning it off and placing the bowl inside. But I read that if it's too warm, then it might kill the yeast. John just happened to be cooking an omelet that morning, so when he was done, I place the bowl near the stove hoping that the heat would help the dough rise. Success!
After 2 freakin' hours(!) here's what the dough looked like. Still not quite "doubled in size" but at that point, it was close enough for me. I proceeded to the next step.
Punch down the dough. Turn the dough out onto a lightly floured work surface and roll out into a 13-by-17 inch rectangle. I didn't know how to roll it into a rectangle, so I went for a more oblong shape.
Brush the top of the dough with 4 Tbs. of melted butter.
Sprinkle evenly with the cinnamon-sugar.
With the long side facing you, carefully roll the top of the dough downward into a tight roll.
Cut the dough crosswise into 9 rounds.
Place the rolls, cut side up, in a greased pan, spacing them equally apart.
Lightly brush the tops with the remaining 2 Tbs. melted butter. Set the pan in a warm place and let the rolls rise until they are about 1 inch apart, 20 to 25 minutes (here we go again.)
In the bowl of an electric mixer fitted with the flat beater, beat the cream cheese and butter on medium speed until creamy, 2 to 3 minutes.
Reduce the speed to low, add the frosting mix and beat until combined.
Stop the mixer and scrape down the sides of the bowl.
Increase the speed to medium and beat until creamy and dense, 1 to 2 minutes (mmm, frosting).
Now back to the cinnamon rolls!
Preheat an oven to 350 degrees F. Bake the cinnamon rolls until golden brown, about 25 minutes.
Transfer the pan to a wire rack and let cool for 10 minutes.
Frost the tops of the rolls with cream cheese frosting and voila! Fresh cinnamon rolls. Yum!
What started out as a simple one hour recipe turned into a 2 1/2 hour ordeal, what with all the rising and picture-taking. My parents came over that morning and we all had a nice breakfast of cinnamon rolls. My parents and John loved them. They were absolutely delicious and I would totally make them again now that I know what I'm doing! BUT at the same time, our local Cinnabon sounds so appealing now! It's fun to bake though, and this way you get to enjoy the fruits of your labor, as my Mom always says.
Subscribe to:
Posts (Atom)